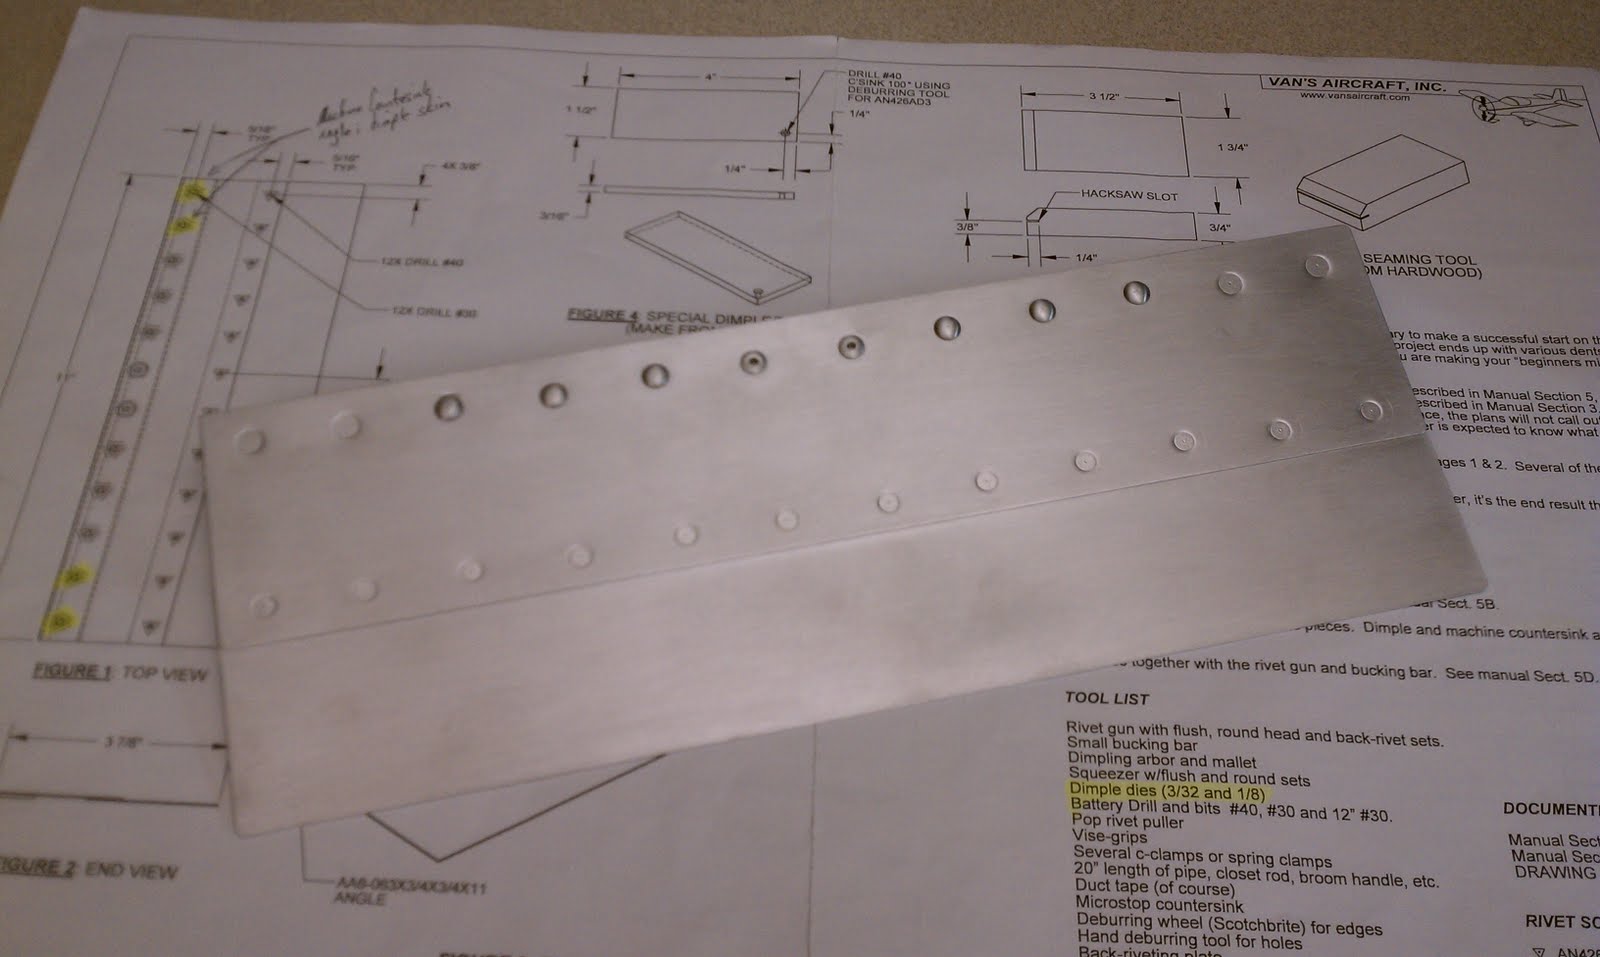
I finished the small practice piece last night, and it turned out much better than the one I made in the SportAir workshop. It easy to see why so many people like the pneumatic squeezer - once it's set up, it is very easy to set rivets consistently.
I don't quite have the procedure down for adjusting the pressure on the rivet gun to produce good results yet. The pressure was too high when I was back riveting, and I ended up having to feather the trigger very lightly to avoid completely smashing the shop heads. Fortunately, the flush rivets all turned out pretty well. I'll work on that more this weekend.
Friday, May 20, 2011
Thursday, May 19, 2011
Practice
Yesterday I organized my workshop a little more, and worked on one of my practice kits from Vans. The new tools from PlaneTools (Isham) are working well, although I still have much to test. When my tools were shipped, a few components were left out of my order, but a call to Isham resulted in the additional tools being shipped out right away - their customer service has been really great. I gave the pneumatic squeezer a shot, and it created really nice dimples. I'm going to use it to drive some rivets this evening.
I ordered my rivet gun (3x) and a back rivet plate from Cleaveland Aircraft Tool, as I liked the style of rivet gun they offered a bit better, and Isham did not carry a back rivet plate. The Cleaveland website is one of the best among the major tool houses, and they are very good about providing information about your order. As soon as my order was shipped (the same day it was placed), I received an email with order and tracking information, which was really nice to see. I will definitely be ordering from these two companies in the future.
Monday, May 2, 2011
Inventory
I finished the inventory this evening, and everything is present. I also organized the workshop a bit more, preparing for my future tools delivery. I'm going to build one EAA table - a project I'm anxious to start. That will give me two good sized work surfaces, and a reasonable amount of storage on the shelf under the EAA table. One table will be used to prepare parts (it will have the vise, bench grinder, and other tools), and the second will be used for component assembly. I'll see how functional this arrangement is when I start working on the rear spar of the horizontal stab. I may construct a jig for the empennage if space permits, although I know several builders who did not use one at all on the tail surfaces, and theirs turned out well due to the pre-punched components Vans now ships. I've heard the jig does make riveting the assembly together a bit easier though.
I've been studying the empennage section of the preview plans a fair amount, and I believe I have a good understanding of the first steps I will need to make. It takes a little practice to understand how everything is labeled on the plans, but I'm starting to feel comfortable with the process I'll be following.
![]() |
| Small empennage box contents |
![]() |
| Vans does a great job of organizing everything |
Wednesday, April 27, 2011
First kit arrives!
I picked up my empennage kit from Fedex on April 22, and I'm really looking forward to getting started. If anyone at the Fedex office saw me taking pictures of the boxes in the parking lot, they probably thought I was a bit unusual. Both packages were in good condition - I loaded them up in the car and went straight to the office. I was able to open the small box during lunch and go over the documentation that was included - inventory sheets, and some other miscellaneous paperwork. Vans was very meticulous when they packed the various parts. Everything was well organized and protected. Woohoo - I have a part of an airplane to build!
Empennage kit ordered
I took the plunge on April 15 and ordered the empennage kit from Vans. I was told the kit would ship out the following Monday or Tuesday, and that's exactly what happened. I missed the Fedex delivery when it arrived on Thursday, so I asked them to hold the packages at the depot. I was able to pick them up before work on Friday, April 22.
Monday, April 11, 2011
Primer
I'm sure I've put way more thought into primers than necessary, but when you're getting ready to spend many thousands of dollars on an aircraft, you kind of want it to last a while. After reading an article in Sport Aviation magazine (Aug. 2009) on Rick Gray and his award winning F1 Rocket, I decided to send him a message and see what type of primer he used on his aircraft. He said he uses Duplicolor self etching primer and nothing else, as it's very durable and easy to apply. It's usually available at Autozone or Advance Auto Parts. Unfortunately this primer does not come in quarts or gallons (only aerosol cans), so it can't be used in an HVLP spray gun.
I read on Vans Air Force Forums that several people have had good luck with SEM self etching primer, which is available in aerosol cans, quart and gallon containers. If it's as durable as Duplicolor, I'll consider using it, as I would like to have the option of running it through a sprayer for larger jobs if necessary. I'll give both primers a try on my practice kit, and see which one I'll use on my plane.
Construction Prep
I have been thinking about building a homebuilt aircraft for quite some time, but have just started to pursue it seriously. I attended a SportAir Workshop for RV construction in February (highly recommended), which was the first time I had ever driven solid rivets. We built a small airfoil section, and aside from a ding in one of the skins from a slipped bucking bar, I was fairly pleased with the results. I have two more practice projects to work on after my workshop is complete, one airfoil and one toolbox from Van's, which are sure to help improve my riveting skills. I've also been reviewing the preview plans for the RV-7, which contain some very important information (Section 3 and 5) on the procedures used during the construction process.
Subscribe to:
Posts (Atom)


