Showing posts with label Rudder. Show all posts

Sunday, April 15, 2012

Completed rudder and elevator leading edges

I've been working on finishing the last items on the empennage over the last few days.  My wing kit arrived a few days ago, and I'm anxious to start working on the forward spar.  The leading edges on the elevators and rudder needed to be closed up, and I have a small amount of work on the left elevator where the trim tab motor sits, and that's it for the tail section!  

Getting the leading edges of the elevators and the rudder to come together nicely takes a bit of work.  It's easy to roll the leading edges, but it's challenging to get the outer skin to sit flush without any gaps after the blind rivets have been set.  To resolve this, I ended up slightly over bending the outer skin, which allows the two skins to sit flush next to one another.   Bending one section at a time, outboard to inboard, makes the process easier.

Several builders have written that they used a pipe wrench to grip the dowel (3/4 inch) that is used to roll the leading edge.  I found that a steel handle, such as that used for a bending brake, worked much better when inserted into a hole drilled through the dowel.  The wrench was hitting the forward spar of the elevator, limiting the amount the leading edge could be rolled.  Using the steel handle at the inboard end of the elevator by the control horn eliminated this issue.  

After I had the skins rolled, I taped them in place with strips of duct tape and match drilled the holes.  I didn't find it necessary to use the ultra sticky duct tape that some builders use - the standard duct tape worked great, and didn't take the primer or blue vinyl off where I didn't want it removed.  The tape was then removed, the holes deburred (with a scotchbrite pad on the interior surface), and the blind rivets were set.  I wasn't happy with one of the elevators after it was finished, so I drilled out the rivets, slightly adjusted the leading edges by bending the skin a bit more, and re-riveted.  I was very pleased with the results.

Two sections rolled on right elevator

Right elevator leading edge finished
Left elevator leading edge clecoed - ready to be match drilled
Two sections on rudder complete - one to go
Rudder leading edge finished
The completed airplane parts are getting larger!

Sunday, March 11, 2012

More rudder work

This weekend I made good progress on the rudder.  I notched the counterweight to fit between the rivets in the counterbalance rib, and torqued the #10 screws after the weight was in place.  All of the perimeter rivets were then set, with the exception of the trailing edge (and a few in the top and bottom ribs for trailing edge access).  I've been doing some reading about the best method to tackle the trailing edge, and decided to use Proseal to keep the skins attached to the AEX wedge and keep everything straight during riveting. I allowed the Proseal to cure for nearly a full week, as it has been pretty cool in the hangar, which likely increased the cure time.  

I used one of the rudder skins prior to final assembly to match drill the trailing edge holes in a piece of angle aluminum.  That piece of angle was then clamped to a second piece, onto which the holes were transferred.  That allowed me to clamp the trailing edge together after the Proseal was applied to the AEX wedge until the curing finished, keeping everything straight.  I have to say I was more concerned about messing up the trailing edge than I was bending the ends of the trim tab, which gives many people trouble.  I looked at several examples and spoke with several accomplished builders, and decided to squeeze all of the rivets rather than use the back rivet technique.  I felt that backriveting left too much room for error, and that I could control how much the rivets were driven more effectively with a hand squeezer.  This was the method I used:
  • Numbered the trailing edge holes 1-6, then repeated the pattern down the entire trailing edge.  I used these numbers to set the rivets in a systematic pattern to prevent warping.
  • Starting in the middle and working to one side, I set all of the number 6 rivets half way, then repeated the process in the opposite direction.
  • Repeated this process for all number 5 rivets, and so on, until all of the rivets were set half way.
  • I then took a flat set I had ground down on my Scotchbrite wheel to match the angle of the trailing edge, and set the rivets the rest of the way, using the same pattern as before.  I constantly checked to make sure no warping was taking place. 
This process resulted in a nice straight trailing edge with no dings in the skin.  I'm very pleased with the results, and happy this portion of the rudder is complete.

Counterweight notched and countersunk, ready for installation
Torquing counterweight screws
Front spar attached to left and right skins
AEX wedge clecoed to table for countersinking.  Holes were match drilled in table to center the countersink pilot
Aluminum angles match drilled and clecoed to trailing edge
Removed primer from inside portion of skins where Proseal will be applied
Thin layer of Proseal applied to both sides of AEX wedge and placed in trailing edge
Trailing edge clecoed between aluminum angles to cure
Rivets taped in place (all in the same direction) ready for squeezing
All rivets set half way with flush set in squeezer
Rivets completely driven with angled set.  Shop heads showing.
Finished trailing edge.  Nice to have this done.

Tuesday, February 21, 2012

Rudder revisited

The last few days I've been working on the rudder components.  I was waiting to rivet the stiffeners until I had more experience riveting the elevator stiffeners, since the skins on the elevator are slightly thicker (.020").  This turned out to be a non issue.  I back riveted some scrap stiffener aluminum to some .016" sheet for practice, and to get the rivet pressure dialed in.  After that, I riveted all of the stiffeners to the left and right rudder skins.  Last weekend I cleaned, primed and riveted all of the skeleton components, so the rudder is now ready for final assembly.  I haven't decided exactly how I'm going to address the trailing edge wedge, but I'll figure that out over the next couple of days.

Parts deburred and ready for priming
Skeleton parts primed...
... and ready for riveting
Installing reinforcement plates on front spar (used hand squeezer and a longeron yoke for this)
Skeleton completely riveted and installed in left and right skin
Back riveting stiffeners to left and right skins
All stiffeners riveted in place - only leading and trailing edge work remains

Saturday, October 22, 2011

Rudder Time!

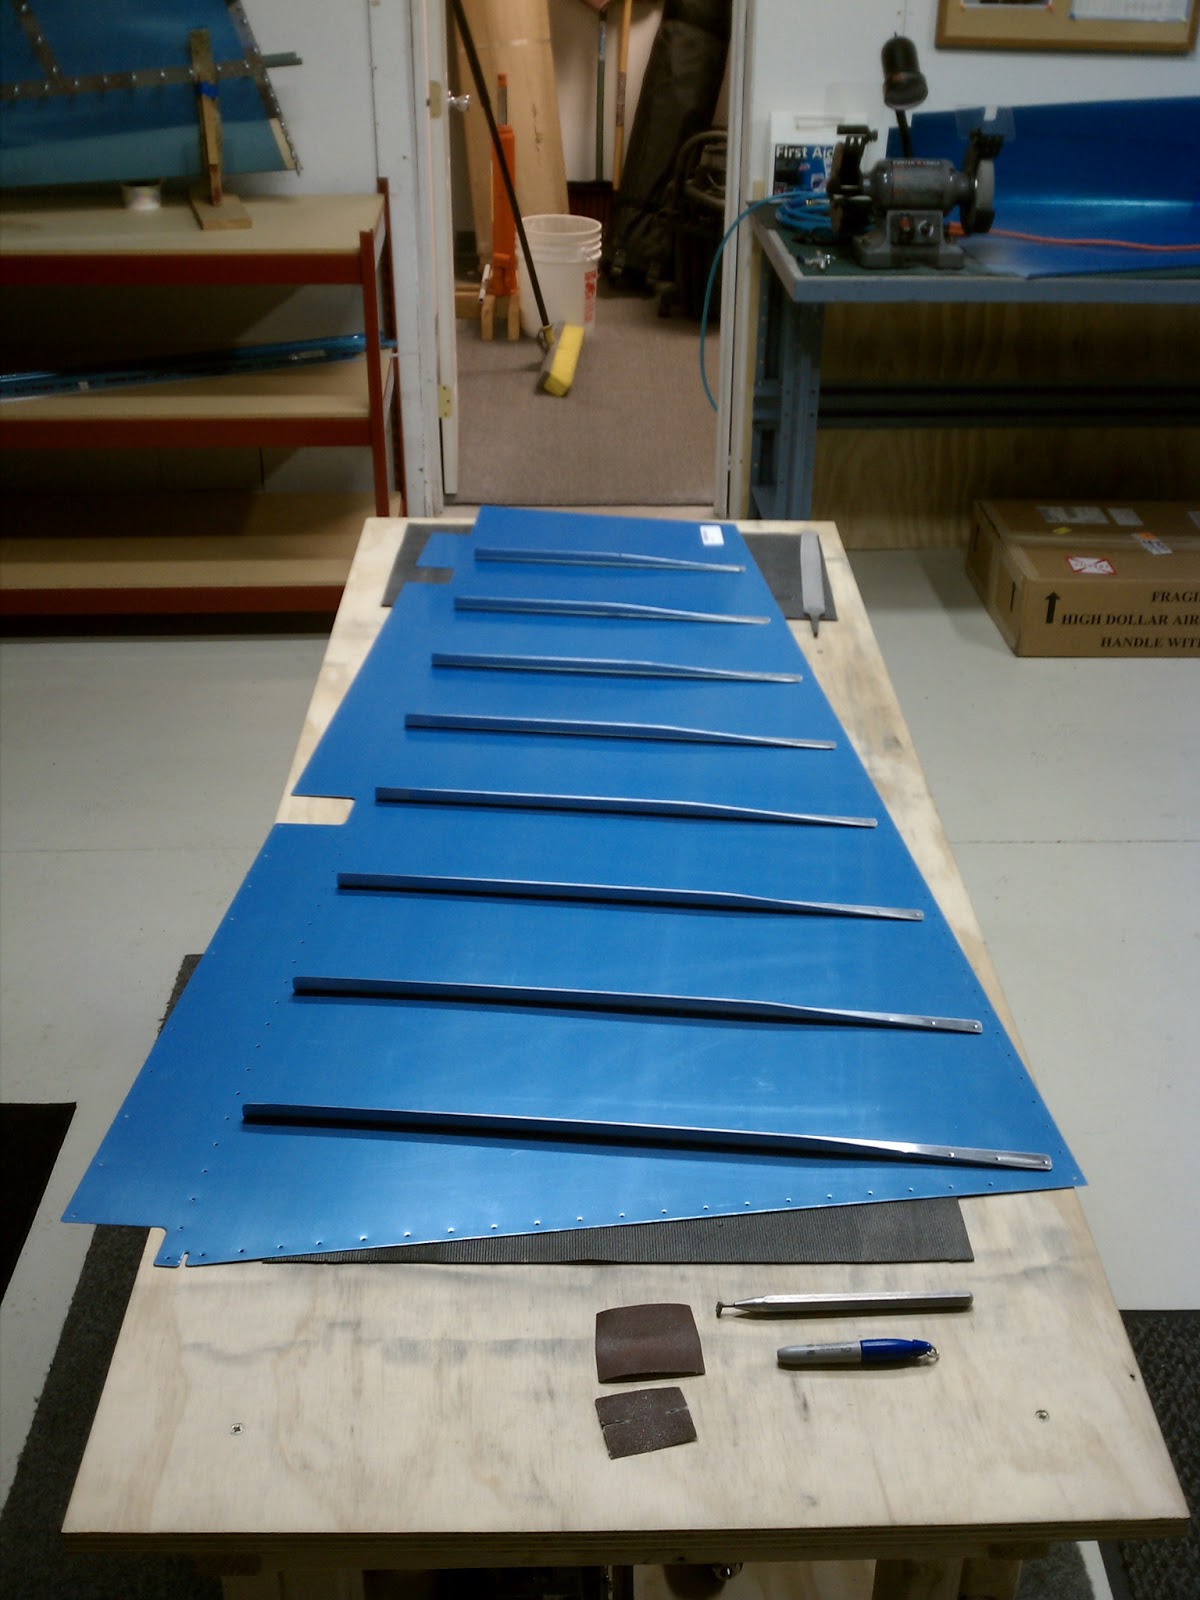
Things are progressing nicely now.  I started cutting and deburring all of the stiffeners for the left and right rudder skins, and then removed the vinyl from the rivet locations.  After that was finished, I started working on the skeleton.  A few pieces of aluminum need to be cut from scrap to be used as shims, but this is a straightforward process.  The counterbalance skin is then clecoed to the top ribs and everything is match drilled together.  It looks like the biggest challenge on the rudder will be riveting the trailing edge.

Stiffeners cut and deburred on right side skin
Removing the blue stuff
Both skins match drilled and ready to go
Drilling R-918 bottom attach strips to R-904 rib


Skeleton ready for disassembly, dimpling and priming