Showing posts with label Right elevator. Show all posts

Sunday, April 15, 2012

Completed rudder and elevator leading edges

I've been working on finishing the last items on the empennage over the last few days.  My wing kit arrived a few days ago, and I'm anxious to start working on the forward spar.  The leading edges on the elevators and rudder needed to be closed up, and I have a small amount of work on the left elevator where the trim tab motor sits, and that's it for the tail section!  

Getting the leading edges of the elevators and the rudder to come together nicely takes a bit of work.  It's easy to roll the leading edges, but it's challenging to get the outer skin to sit flush without any gaps after the blind rivets have been set.  To resolve this, I ended up slightly over bending the outer skin, which allows the two skins to sit flush next to one another.   Bending one section at a time, outboard to inboard, makes the process easier.

Several builders have written that they used a pipe wrench to grip the dowel (3/4 inch) that is used to roll the leading edge.  I found that a steel handle, such as that used for a bending brake, worked much better when inserted into a hole drilled through the dowel.  The wrench was hitting the forward spar of the elevator, limiting the amount the leading edge could be rolled.  Using the steel handle at the inboard end of the elevator by the control horn eliminated this issue.  

After I had the skins rolled, I taped them in place with strips of duct tape and match drilled the holes.  I didn't find it necessary to use the ultra sticky duct tape that some builders use - the standard duct tape worked great, and didn't take the primer or blue vinyl off where I didn't want it removed.  The tape was then removed, the holes deburred (with a scotchbrite pad on the interior surface), and the blind rivets were set.  I wasn't happy with one of the elevators after it was finished, so I drilled out the rivets, slightly adjusted the leading edges by bending the skin a bit more, and re-riveted.  I was very pleased with the results.

Two sections rolled on right elevator

Right elevator leading edge finished
Left elevator leading edge clecoed - ready to be match drilled
Two sections on rudder complete - one to go
Rudder leading edge finished
The completed airplane parts are getting larger!

Saturday, December 10, 2011

Right elevator (cont.)

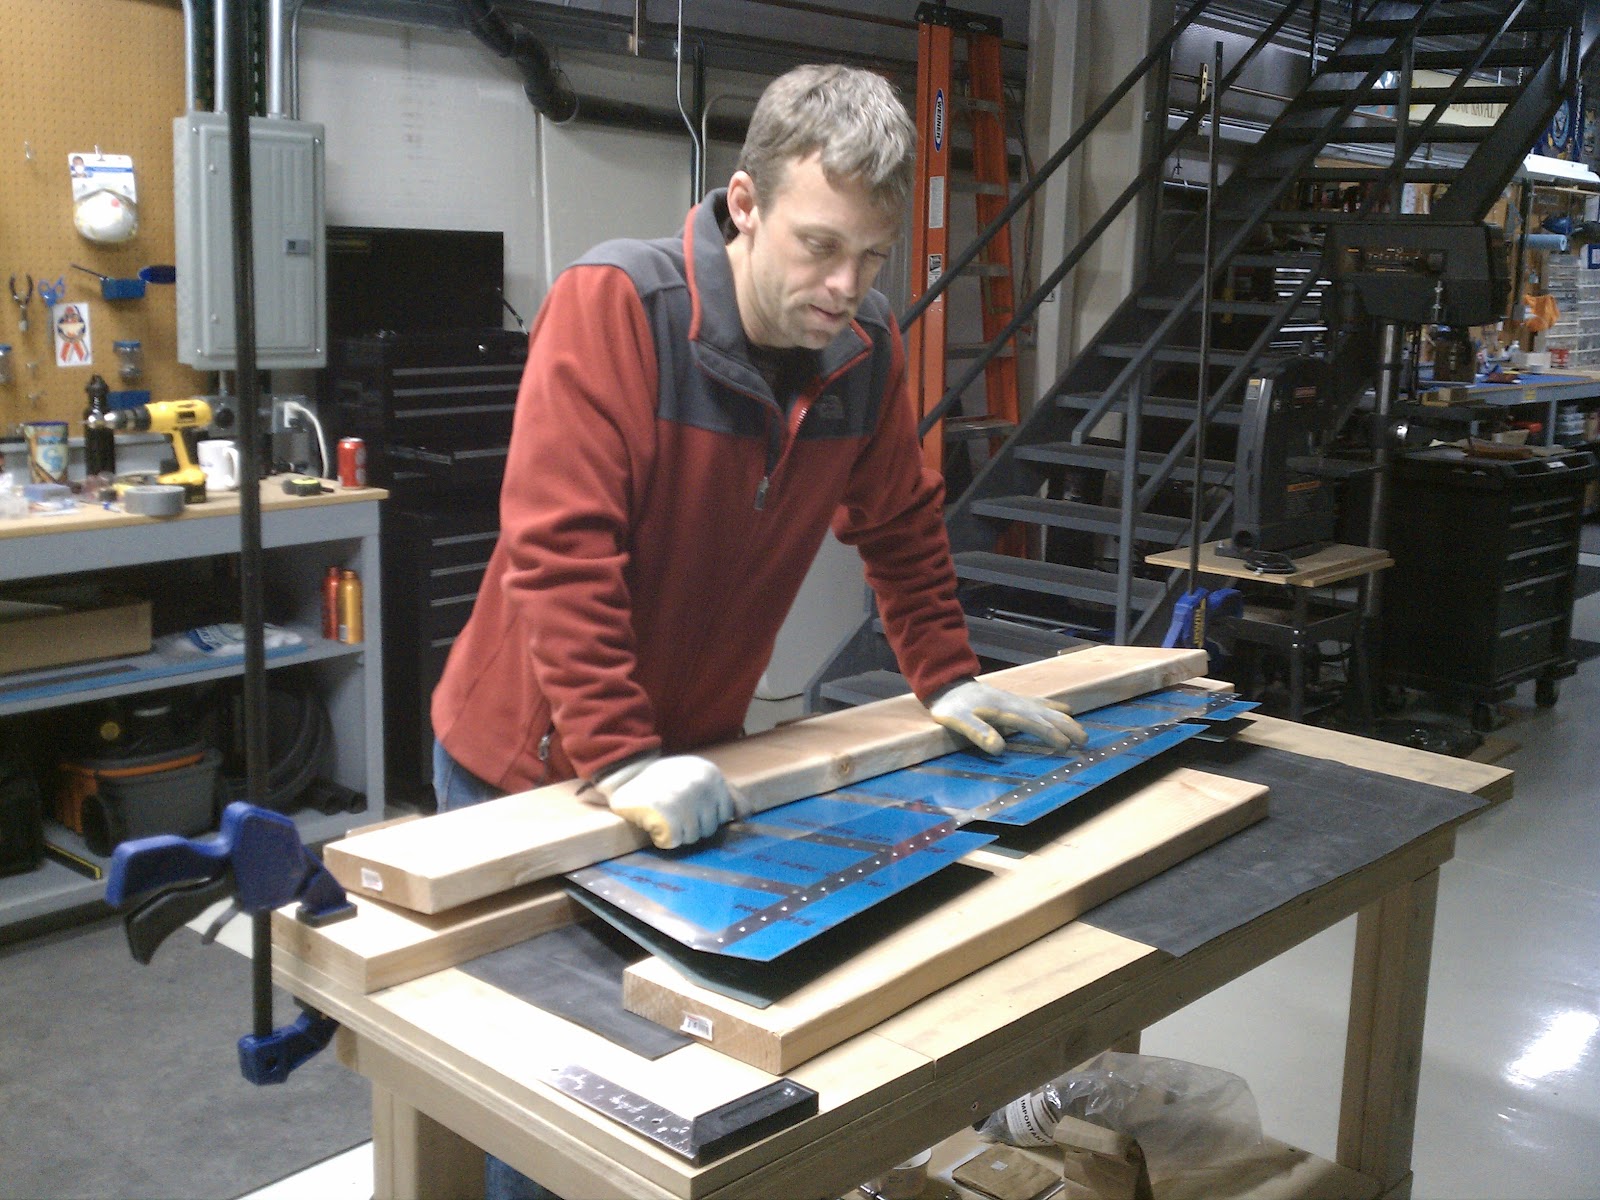
Bending the trailing edge is a bit unnerving the first time you do it.  You've put in a significant amount of time into the stiffeners and skin at this point, and the last thing you want to do is mess it all up.  I constructed a bending brake from a set of 2x8s connected at the back with evenly spaced door hinges.  I clamped the brake to the table top, and placed a 1/8" dowel in the trailing edge to prevent over bending.  It's surprising how much force it takes to complete the bend.  I made the first bend with the trailing edge close to the hinges, then slowly moved it out on following bends.  Soon, the skin was open just enough to sit on top of the spar when the skeleton is placed in the skin. This method worked well.

Bending trailing edge
Bend complete - straight edge sits flush to point where radius begins
Just a few rivets left, and the right elevator will be finished
Right elevator complete - yeah baby!

Saturday, November 19, 2011

Right elevator

After finishing the majority of the prep work on the rudder (cutting and deburring the stiffeners, match drilling the skin to the skeleton, and dimpling and priming the skin), I started working on the right elevator.  The skins on the rudder are only .016" think, so I wanted to back rivet the stiffeners on the elevators before attempting the same on the rudder skins.  This is probably an unnecessary step, but I thought the extra practice on the slightly thicker elevator skins would be useful.

Similar to the rudder, I started the right elevator by cutting and deburring all of the stiffeners for the top and bottom of the skin.  The notches Van's makes in the stiffener aluminum makes this a straightforward, albeit time consuming, process.  I also deburred the counterbalance skin and ribs, as well as the elevator spar.  After that, the stiffeners are match drilled to the top and bottom of the skin, the ribs are fluted, and everything is assembled and match drilled.


Stiffeners cut for top and bottom of skin
Assembling skeleton
Skin attached to skeleton and match drilled
Priming stiffeners
Stiffeners back riveted in place
Blue vinyl removed - I love how this looks!
Ready to bend trailing edge with bending brake