Saturday, October 15, 2011

Vertical Stabilizer work

Compared to the horizontal stabilizer, the vertical stabilizer seems to come together very quickly.  It's probably a combination of getting used to working with aluminum and understanding the plans better - it's nice to see things take shape more rapidly. 

Match drilled skin to skeleton
Priming internal components
Skeleton primed and ready for riveting
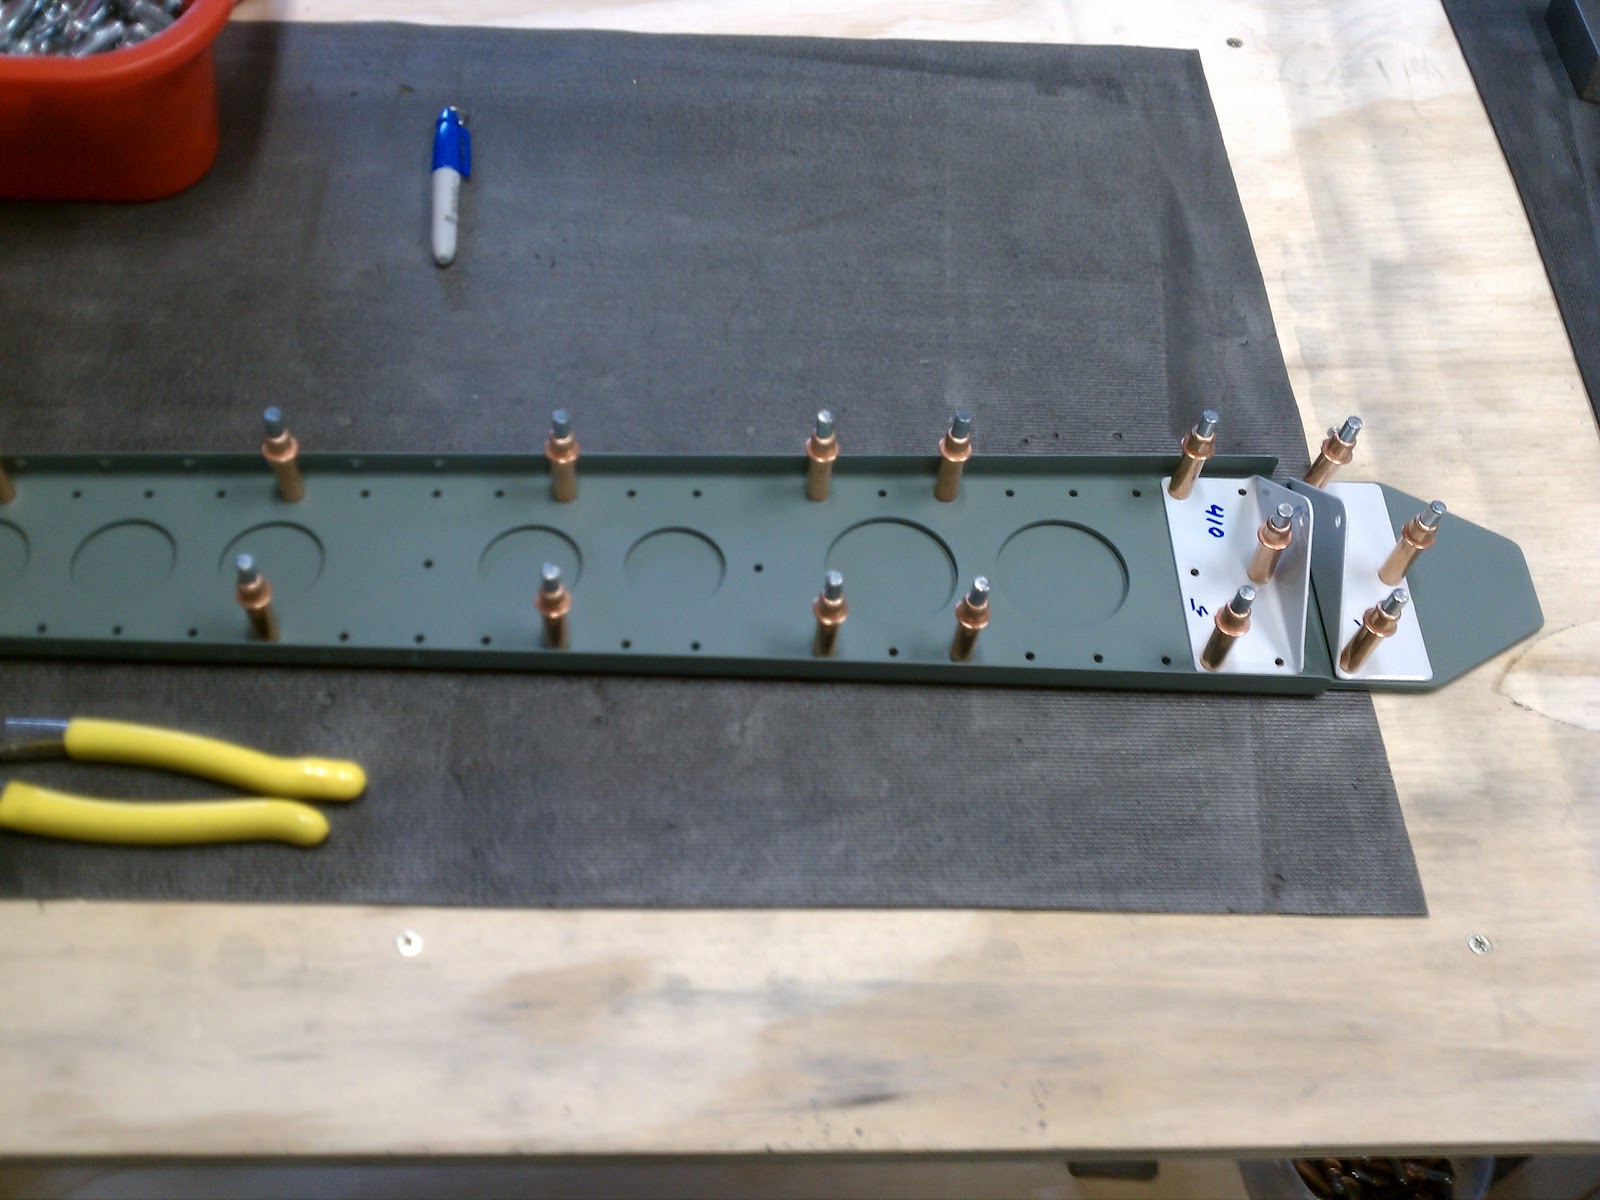
Riveting spar doubler and hinge brackets to rear spar
Riveting skeleton together
Final assembly

Wednesday, September 21, 2011

Finished Horizontal Stabilizer

With the nose rib riveted to the horizontal stabilizer skin, things move along pretty quickly.  Jim and I riveted the internal section of the skeleton, which went really well.  With that completed, I was able to squeeze the perimeter rivets with my hand squeezer.  It's cool to see the first section of the empennage finally complete.

External view of nose rib rivets

Early internal view


Riveting bottom left skin
 
All internal rivets complete
Horizontal stabilizer finished - very cool !

Proud owner of a completed horizontal stabilizer.

Thursday, August 25, 2011

Horizontal Stabilizer work continues

I haven't been good about posting information about my progress, but fortunately I have been good about working on the horizontal stabilizer.  At this point, I'm nearly finished with the HS, so I will make an entry to reflect the things I have done.  Here are some of the tasks I have completed: 

  • Notched left and right HS-702 where bends will be located (a rat tail file and a pair of aviation snips makes this a straightforward task - much easier that a unibit).  Bent tabs 6 degrees.
  • Tapered front spar reinforcement pieces (HS-710 and HS-714), bent them 6 degrees, and match drilled them to HS-702.
  • Clecoed left and right HS skin to understructure and match drilled all holes.
  • Disassembled everything, prepped and primed spars, ribs, and skins.
  • Riveted spar reinforcement bars to rear spar.
  • Riveted HS skeleton.
  • Began riveting ribs to skin.


First rivets

I prepped the HS411PP elevator hinge bearing, and primed with SEM primer.  Here is the procedure I use to prepare parts for priming:
  • Deburr with single or double edged deburr tool
  • Use emery cloth to remove any irregularities on edges or surfaces
  • Scuff with maroon Scotch Brite pad
  • Clean with acetone.  Following this step, part will only be handled with gloves to prevent contamination of surface.
Bearing ready to be installed in HS411PP hinge bracket

I back drilled the HS411PP bracket (only one side has the holes pre-punched) and installed the completed bearing.  I used my pneumatic squeezer to squeeze the AN470AD4-5 rivets, which turned out well.  I know some builders use -6 rivets here, but the instructions are very specific here, so I used what was specified.

Completed hinge bearing assembly

Tuesday, July 5, 2011

New workshop, new table

Following the move to my new workshop, I went ahead and built an EAA Chapter 1000 standard table.  As per the suggestion of a fellow builder, I constructed the table top with a two inch overhang on each side, which will allow parts to be clamped to the table if necessary.  I was very pleased with the results, and the table has turned out to be a terrific addition to the workshop.  I like the table so much, I may build another one in the future if necessary.


Rear spar work

It's been a little while since my last post.  I moved my workshop recently, and also moved into a new home.  Building should return to a more normal schedule now though, and I'm excited to see some of the empennage parts coming together.

I finished rounding the HS609PP rear spar reinforcement bars, which turned out well.  I have included a before and after picture.  After both of the 609PPs were finished, I match drilled them to the HS603PP rear spars, and placed all of the hinge brackets.  

Before (left) and after shots of HS609PP rear spar reinforcement bars
Completed HS609PPs clecoed to the HS603PP rear spars following match drilling.

Wednesday, June 8, 2011

Work begins on actual airplane parts

I finished the airfoil practice project, and started working on the HS609PP rear spar reinforcement bars last night.  It took a while to figure out how to effectively use the Scotch-Brite wheel in the bench grinder, which many builders had said was the most efficient tool for this process.  I was worried that it would remove material too quickly, but it really doesn't.  I had an experienced builder look at the first 609PP today during lunch, and he said it looked good.  He gave me a few pointers that really helped me with the second reinforcement bar this evening.

I removed the second wheel from my bench grinder, which was getting in the way.  I also placed a piece of duct tape over the grinding platform, which prevents marks from being made on the surface of the work after one side has been polished.  These two items really helped me make some progress.  I need to make the 1/4" radius on each of the ends, slightly round the corners of one of the bars, and then I can begin clecoing and match drilling the 609PPs to the HS603PP rear spar channel.  I look forward to that part.  I'll include some photos of the 609PPs when they are finished.